Administrator’s guide to managing your phone system’s call queues from Studio, Ubity’s online management portal.
1 Log into the Ubity web interface
Username: your e-mail address
To obtain a password, you must request one on the interface (click on Recover your password) because Ubity does not have access to them for security reasons.
2 Add a call queue
Create a call queue
To manage the call queues of your contact center (call center), go to the Tools tab, click on Queues and then on Add queue…
Set call queue’s options
Give the queue a name.
Caller options
Tick the following box if you want calls to be recorded.

- Do nothing: callers who are waiting there remain but new calls are not directed in the queue.
- Allow Callers: Callers can still access the queue.
- Remove Callers: Callers cannot access the queue and those who are waiting are removed.
Using the drop-down menu, choose the music on hold that will be played while callers are waiting in the queue.
Agent options
Set the length of time the agent’s phone will ring.
Timeouts
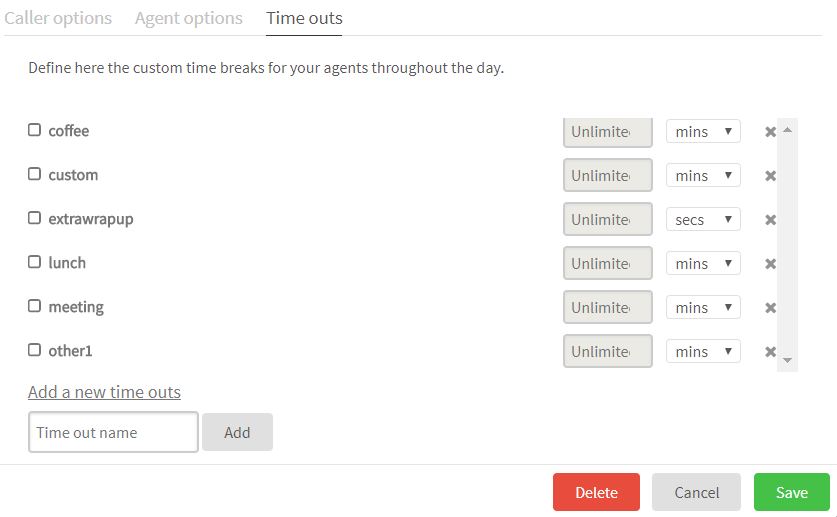
You can select the type of pause you want your agents to have access too. If some timeouts are not needed you can delete them by clicking on the cross at the end of the line. If you need you may create new type of pause by adding the name, adjusting the duration then click on Add.
The duration allows you to see on the agent board if this one has exceeded the delay allowed for this kind of pause.
Once the form completed, do not forget to click on Save.
3 View your call queue's information
Go to the Tools tab and click on Queues.

You can also sort your queues by name, number of agents logged in, numbers of calls waiting, number of answered calls or number of abandoned calls. To do so, you must click on the little triangle next to the category you want your queues to be sorted by.
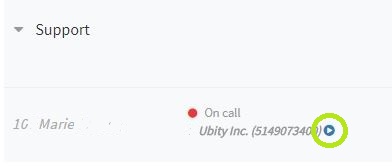
When a call is active in the call queue, you may listen to it « live », without being heard by the caller or the agent. To do so simply click on the play button that appears at the end of the line.
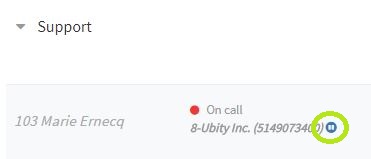
You may put the listening on pause by clicking on the pause button that appears at the end of the line
4 Live dashboard of call queues
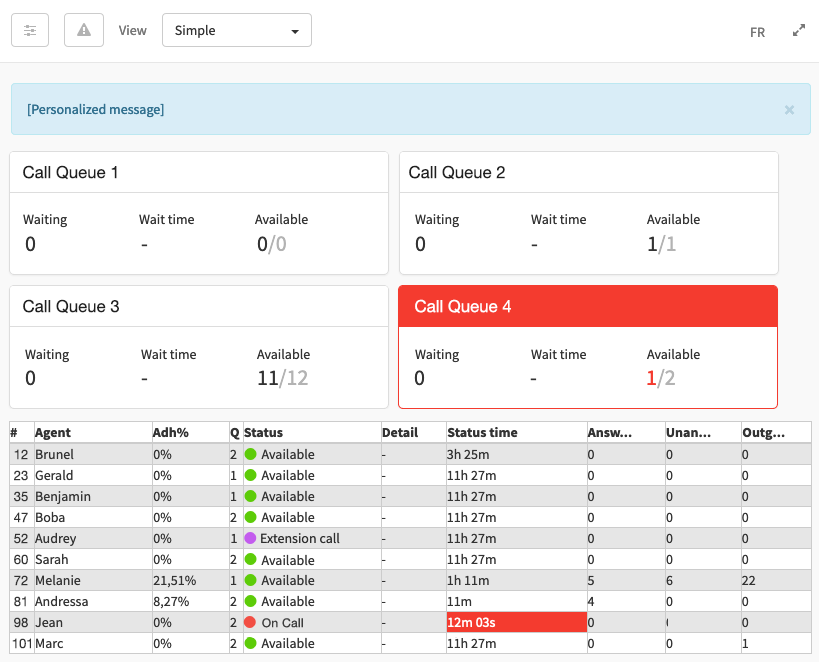
A live dashboard allows you to view the data of your call queues and agents in one glance. It can be customized to display the data that is relevant to your organization.
There are two ways to access the live dashboard tool, depending on your permissions:
- Go to the Tools tab, click on Contact Center, and then click on Live dashboard.
- Go to the Tools tab, click on Contact Center. Select the Call queue tool, and then click on Live dashboard in the upper right corner.

To find out more about using this tool, read the documentation 093 — Guide on the Live Dashboard.
5 Modify the options of your call queues
Go to the Tools tab and click on Queues. The list of your queues appears.
![]() You must click on the Edit button at the end of the line corresponding to the queue you want to make changes to.
You must click on the Edit button at the end of the line corresponding to the queue you want to make changes to.
A form will appear on the screen. To complete it, you can follow the instructions above in the section Set call queue’s options.
To find out more about call queues, also visit:


