005 — Guide for managing your account contacts
Administrator’s guide to managing account contacts associated with your phone system from Studio, Ubity’s online management portal.
1 Log into the Ubity web interface
Interface Address: studio.ubity.com
Username: your e-mail address
To obtain a password, you must request one on the interface (click on Recover your password) because Ubity does not have access to them for security reasons.
2 Add a contact to your account
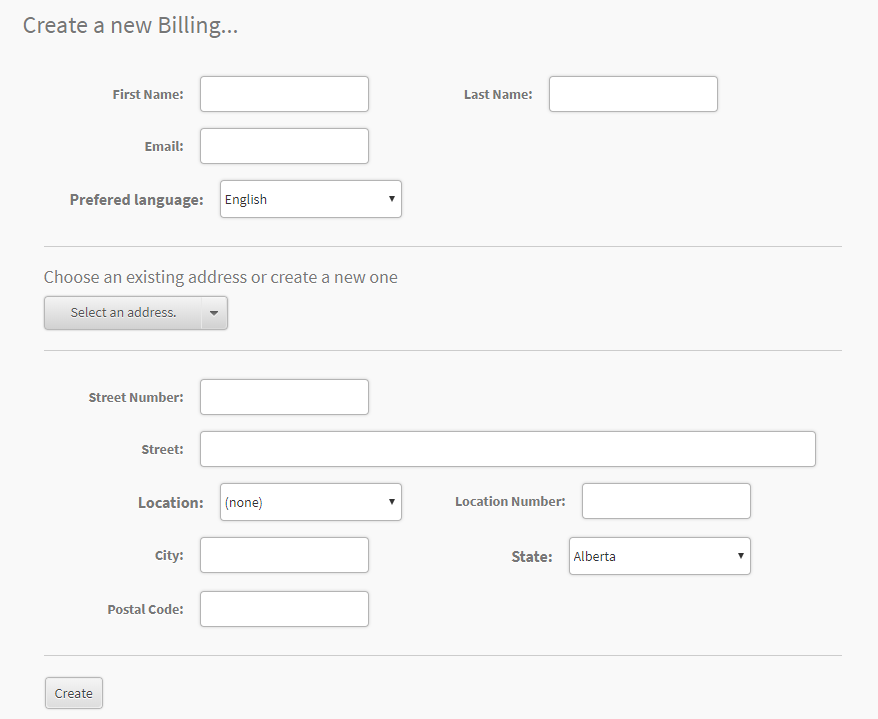
Go to the My account tab then Account settings and click on Account contacts. You can add a contact in different categories: administrative, technical, billing, marketing or delivery. If there is no contact in a given category, you will see the notice below.
 Fill in the form with the contacts information and click on the Create button to save.


3 Assign an existing contact to another category
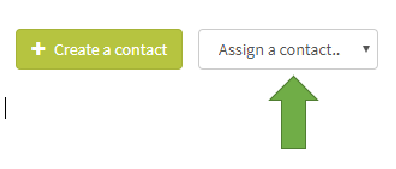
If you wish to add an existing contact to a different category, click on Assign a new contact in to the category to which you want to assign them and use the drop-down menu indentified by the green arrow in the image below.

4 Edit information for an existing contact
To edit an existing contact’s information, you must click on the dotted icon identified by the green arrow below and then on Edit in the dropdown menu.

Attention: Do not forget to click Save for the changes to take effect.
